
Caddy 简介※
Caddy 是一个开源的、使用 Go 编程语言构建的 HTTP/2 web 服务器,它的主要特性包括自动 HTTPS、HTTP/2、IPv6、Markdown、WebSockets、FastCGI、模板等。Caddy 的发展历史可以追溯到 2015 年,由 Matt Holt 在他的硕士论文中首次提出。他的目标是创建一个可以自动获取和更新 TLS 证书的 web 服务器,以便更容易地部署安全的网站。这个想法得到了广泛的认可,Caddy 很快就吸引了大量的开发者和用户。
Caddy 安装※
sudo apt install -y debian-keyring debian-archive-keyring apt-transport-https curl
curl -1sLf 'https://dl.cloudsmith.io/public/caddy/stable/gpg.key' | sudo gpg --dearmor -o /usr/share/keyrings/caddy-stable-archive-keyring.gpg
curl -1sLf 'https://dl.cloudsmith.io/public/caddy/stable/debian.deb.txt' | sudo tee /etc/apt/sources.list.d/caddy-stable.list
sudo chmod o+r /usr/share/keyrings/caddy-stable-archive-keyring.gpg
sudo chmod o+r /etc/apt/sources.list.d/caddy-stable.list
sudo apt update
sudo apt install caddy
接下来,我们需要将以下内容写入
/etc/systemd/system/caddy.service文件
[Unit]
Description=Caddy
Documentation=https://caddyserver.com/docs/
After=network.target network-online.target
Requires=network-online.target

[Service]
Type=notify
User=caddy
Group=caddy
ExecStart=/usr/bin/caddy run --environ --config /etc/caddy/Caddyfile
ExecReload=/usr/bin/caddy reload --config /etc/caddy/Caddyfile --force
TimeoutStopSec=5s
LimitNOFILE=1048576
PrivateTmp=true
ProtectSystem=full
AmbientCapabilities=CAP_NET_ADMIN CAP_NET_BIND_SERVICE

[Install]
WantedBy=multi-user.target
启动caddy:
sudo systemctl daemon-reload
sudo systemctl enable --now caddy
sudo systemctl status caddyCaddyfile※
Caddyfile 是 Caddy 的配置文件,它使用简单的语法来定义和配置 Caddy 的行为。以下是一些基本的 Caddyfile 配置:
配置caddy:
简单响应:
:2015

respond "Hello, world!"
文件服务器:
localhost

root * /var/www/mysite
file_server
文件浏览器:
localhost

root * /var/www/mysite
file_server browse
反向代理:
:2080

reverse_proxy :9000
自动 HTTPS:
your_domain.com:8443

reverse_proxy :9000
使用 IP 的 HTTPS:
your_ip:8443

reverse_proxy :9000
禁用 HTTP 到 HTTPS 的重定向:
{
    auto_https disable_redirects
}

your_domain.com:8443

reverse_proxy :9000
多站点:
localhost:2015 {
	respond "Hello, world!"
}

localhost:2016 {
	respond "Goodbye, world!"
}
匹配器令牌:只代理子路径:
localhost

reverse_proxy /api/* 127.0.0.1:9005
处理路径:
example.com {
	handle_path /foo/* {
		# The path has the "/foo" prefix stripped
	}

	handle /bar/* {
		# The path still retains "/bar"
	}
}- 修改Caddy配置文件添加如下配置/etc/caddy/Caddyfile
blog1.nsoft.vip {
    # 1. 首先处理根路径,代理到 /share/Index
    handle_path / {
        rewrite * /share/Index
        reverse_proxy 172.17.0.1:18088
    }

    # 2. 处理其他所有路径,重写到 /share 下
    handle {
        rewrite * /share{path}
        reverse_proxy 172.17.0.1:18088
    }
}- 域名添加解析到服务器地址:
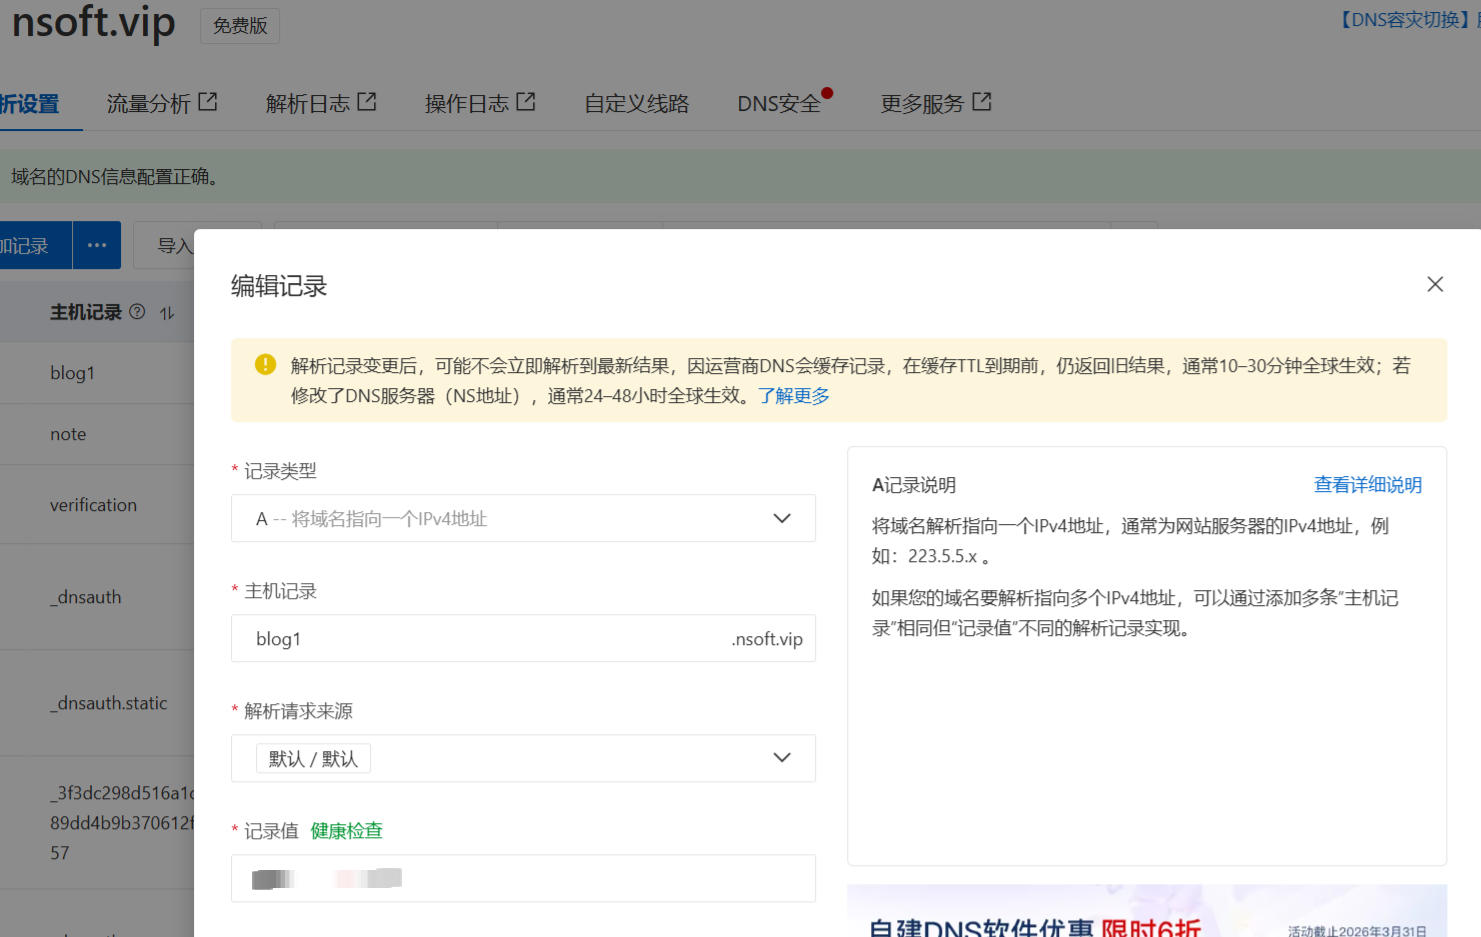
- 等待几分钟访问我们的域名地址,自动https

搞定,教程结束!